You may have read that, in order to improve music reproduction in your room, a subwoofer could be a wise addition.
A true sub is designed to go much lower than your existing speakers, and by lower, I mean much lower, a true sub should reach down below 20Hz. Unfortunately, there are a lot of “subs” out there that really aren’t true subs and reach down to about 24Hz, not the best, but usually OK…
Subs will complement any pair of stereo speakers in the low end, not just the small ones. Their interaction with the room is intense enough for that.
This means that subs can also counteract some room issues using specific settings. A pair of subs in strategic locations can provide amazing room correction. This is, however, out of the scope of this guide.
Connecting your subwoofer
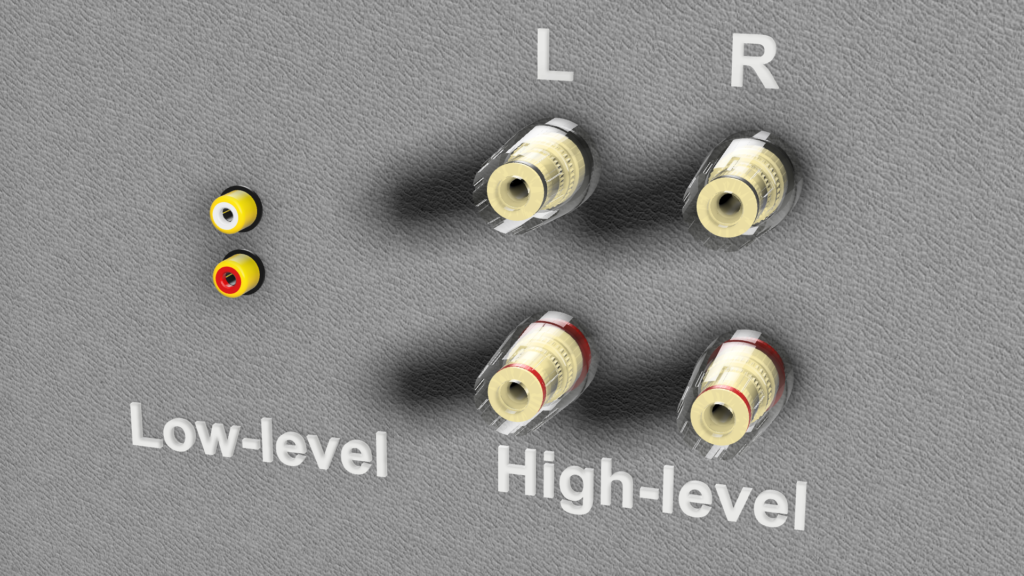
You need to connect your sub to your pre-amp or integrated amplifier
You will need a variable output, something that changes as you use your volume knob
- Specific low-level sub output (usually an RCA connector)
- A high-level output (a speakers output)
Do not connect to a fixed line level output!
When using a high-level output
- It can be 2 positives and a single negative (ground level), that’s what REL uses
- It can be 2 positives and 2 negatives
- You can use speakers output B on your amp
- You can daisy chain amp-sub-speakers
- You can Y-split
- If your amplifier is class D, beware! Negatives are very often not ground level on the amp. Do not connect the high-level negative wire(s). Find a reference ground level using the RCA connection of your sub and connect it to an unused RCA connector on your amplifier

In any case, RTFM! The manuals for your electronics and subwoofer are your best friends.
If you are using an A/V receiver
You will have to rely more on the settings in the receiver, and you may be stuck with a fixed 80Hz crossover.
Do not discount using the opportuity of using this subwoofer feature, but it is designed first for movies, only second for music. Although it can be set up, it’s going to be less easy.
This use case is however not covered here, sorry…
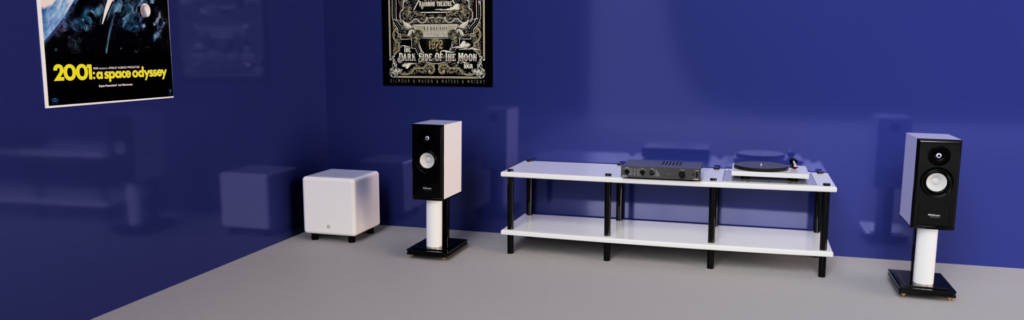
Position your subwoofer
“Subs can be placed anywhere, you can’t determine where low frequencies are coming from” is a bit of a myth, sorry…
Position your subwoofer in front of you, with the main speakers
- Ideally in a corner
- Close to a solid wall, plasterboard walls and subs really don’t like each other very much
Initial setting
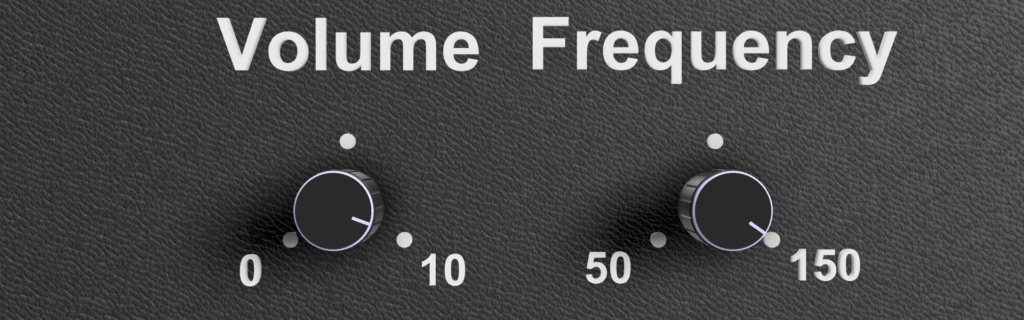
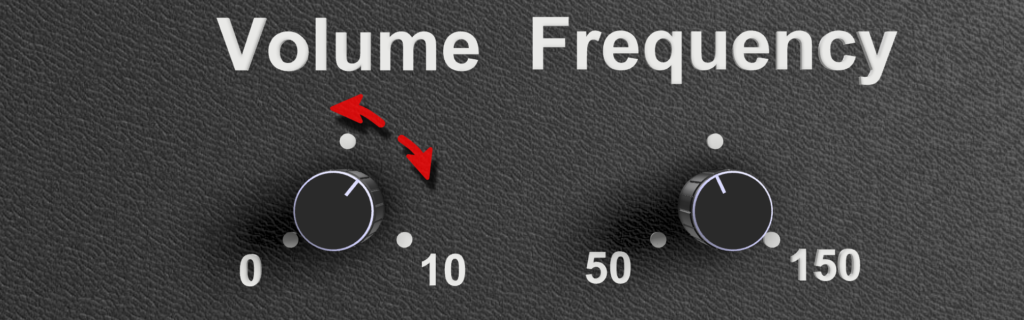
Volume
Set at above 75%
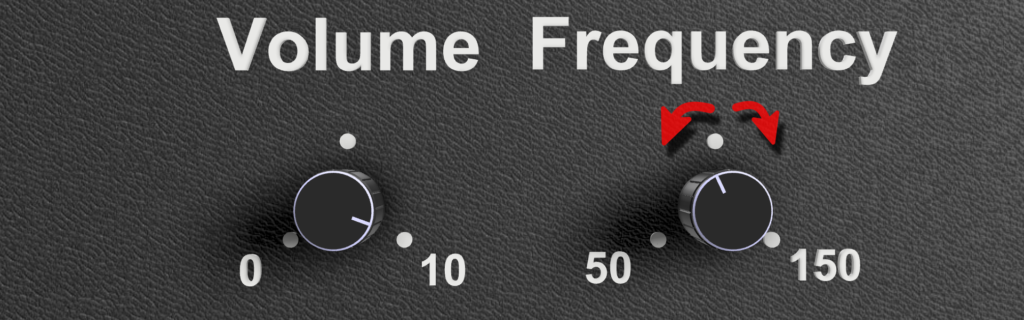
Frequency
Set it all the way up!
Don’t trust your main speakers manufacturer on how low your pair goes, they will most probably try to tell you tales… You also do not live in an anechoic chamber!
Find some music, set the room
What music should you chose?
- Something excessively boring that you don’t really like from your selection of dance music from the late 90’s to the mid 00’s is ideal
- Something with bass!
- Something repetitive…
- Avoid a lossy format (mp3, AAC, etc.), as they are engineered to not be great with sub-bass. CDs, FLAC, ALAC, WAV are good if using a digital source
- You can use this track! (Download available in the 3 dots menu)
Close the room’s doors and windows
Set the general volume fairly high (warn your significant other and neighbours)
Do not change the music while doing the setup!
First part – Frequency cut
Volume
Leave it alone!
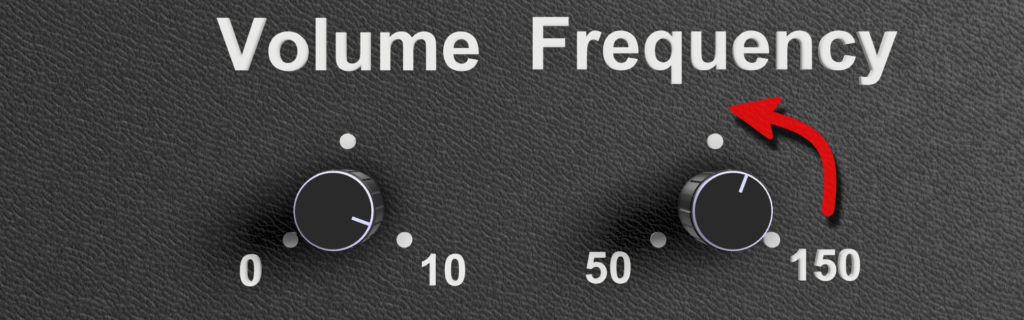
Frequency
You will be close to your sub.
Turn it down slowly until you hear your speakers “meld” with the sub.
You are aiming for a continuous music driven noise, not listening to the speaker or the sub in particular, just a nice extended bass.
Sit back, fine tune the frequency cut
Volume
Leave it alone!
Frequency
Retire to your listening position.
While the sub will be loud, it should still be “melded” with your speakers.
If it isn’t, turn the frequency down some more…
…or maybe up a bit.
Go back to your listening position and check
On to the volume level

Volume
Return to your sub
- Turn the volume down slowly until you can’t distinctly hear it, just feel it
- Turn it back up by a small amount
Frequency
Leave it alone!
Fine tune the volume
Volume
Retire to your listening position.
- Can you hear the sub or feel the sub?
- Try different music
You are permitted to make small adjustments, up or down, but find a median.
There are tracks that benefit more and tracks that benefit less, also many cheaper speakers change characteristically with different music…
You are not looking for perfection at this stage.
Frequency
Leave it alone!
Phase
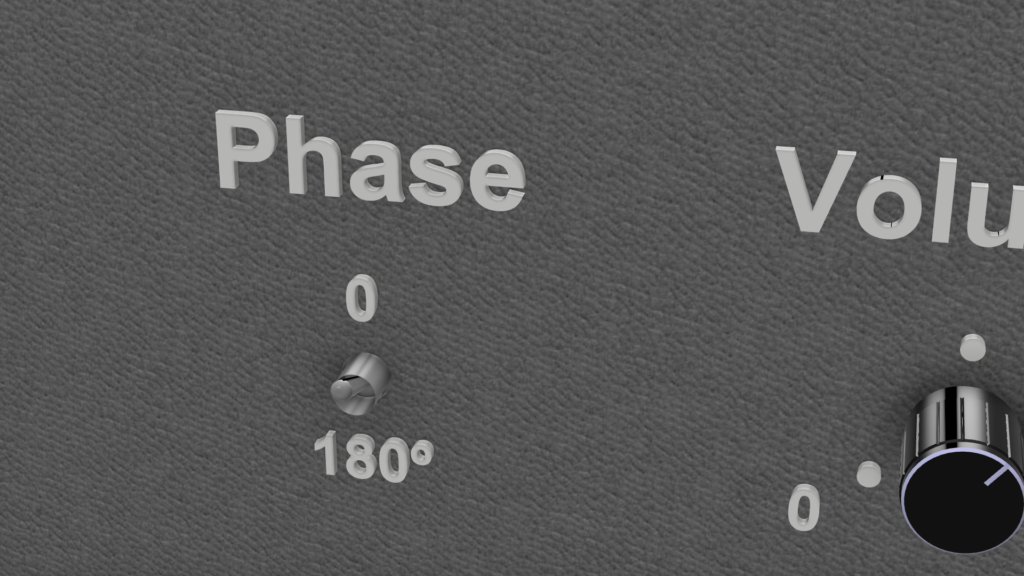
The phase switch can be set to 0 or 180º to control the sub’s driver polarity, so all speakers are working in sync.
The correct setting is whichever position results in the loudest and fullest bass.
Take a break!
Turn the sub off. Yes, turn it off, totally.
Listen to something other than music with a beat.
Take the dog for a walk!
Do anything that will get you away from what you have done for half an hour or more.
Come back with fresh ears and make adjustments, if needed.
Enjoy!